

How to Shoot Product Photography at Home with Natural Light: A Step-by-Step Guide
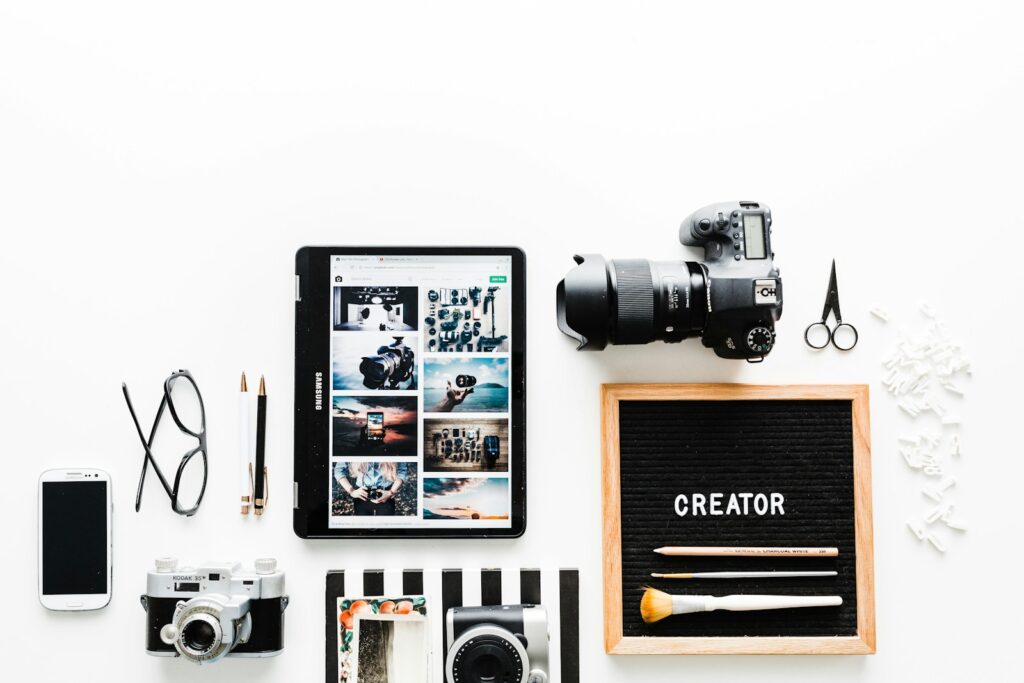
Why Natural Light Is the Best Starting Point for Home Product Photography If you have ever scrolled through an online store and noticed how some product photos look crisp, inviting, and professional while others look flat and dull, the secret often comes down to one thing: lighting. And the good news is you do not need expensive studio equipment to get beautiful results. Product photography at home with natural light is one of the most accessible and cost-effective ways to create images that sell. All you really need is a window, a few affordable accessories, and a basic understanding of how light behaves. This guide will walk you through every step, from choosing the right window to avoiding the most common beginner mistakes. What You Need to Get Started Before we dive into technique, let’s gather the essentials. You probably already own most of these items. Equipment Checklist Item Purpose Budget Option Camera or smartphone Capturing the image Any phone from 2023 onward works great Tripod Stability and consistency A small tabletop tripod ($10-$20) White foam board or poster board DIY reflector to bounce light Under $5 at any craft store Background surface Clean, distraction-free backdrop White paper roll, fabric, or a wooden board Diffusion material Softening harsh sunlight A white bedsheet or sheer curtain Tape or clamps Holding things in place Binder clips or painter’s tape You do not need to invest hundreds of dollars. The total cost of the DIY accessories listed above is typically under $30. Step 1: Find the Right Window Not every window in your home will give you the same quality of light. Here is what to look for: Large windows produce softer, more even light because the light source is bigger relative to your product. North-facing windows (in the Northern Hemisphere) provide the most consistent, diffused light throughout the day because they rarely receive direct sunlight. Avoid windows with direct, harsh sun streaming in unless you plan to diffuse it with a sheet or curtain. Set up a small table right next to the window. The closer the product is to the window, the softer and more wrapping the light becomes. Step 2: Choose the Optimal Time of Day Timing matters more than most beginners realize. The quality of natural light changes dramatically depending on when you shoot. Best Times for Product Photography with Natural Light Time of Day Light Quality Best For Early morning (7-9 AM) Soft, warm tones Lifestyle and warm-toned products Mid-morning to early afternoon (10 AM – 1 PM) Bright, neutral, even Clean e-commerce product shots Late afternoon (3-5 PM) Warm, golden, directional Artistic or lifestyle shots Overcast day (any time) Very soft and diffused Virtually any product type Pro tip: Overcast days are actually a product photographer’s best friend. The clouds act as a giant natural diffuser, giving you soft, shadow-free light that is incredibly flattering for most products. Step 3: Set Up Your Background Your background can make or break a product photo. The goal is to keep it simple so the viewer’s eye goes straight to the product. Popular Background Options White seamless paper: The classic choice for clean e-commerce images. Tape a large sheet of white paper to the wall and let it curve gently down onto the table to create a seamless sweep (no visible horizon line). Neutral fabric: Linen or cotton in white, cream, or light gray adds texture without distraction. Wood or marble boards: Great for food, jewelry, and lifestyle brands. You can find affordable peel-and-stick vinyl surfaces that mimic these materials. Colored paper or poster board: Useful when your brand calls for a specific color palette. Key rule: The background should complement the product, never compete with it. Step 4: Position Your DIY Reflector When light enters from one side through a window, the opposite side of your product will have shadows. This is where a reflector saves the day. How to Use a DIY Reflector Place your product on the table next to the window so light hits it from one side. Position a white foam board on the opposite side of the product, facing the window. The board will bounce the window light back onto the shadowed side of the product, filling in those dark areas. Move the reflector closer for more fill light, or farther away for more dramatic shadows. If you want even more control, use two foam boards: one to the side and one slightly in front of the product. This creates a beautifully even, wrap-around light. Step 5: Diffuse Harsh Sunlight If direct sunlight is streaming through your window, it will create hard, unflattering shadows and blown-out highlights. You need to soften it. Hang a white bedsheet or sheer curtain over the window. Alternatively, tape a sheet of white tracing paper or baking parchment over the window pane. The goal is to turn that small, intense beam of direct sunlight into a large, soft wash of light. This simple trick is what separates amateur product photos from professional-looking ones. Step 6: Dial In Your Camera Settings Whether you are using a DSLR, mirrorless camera, or a smartphone, understanding a few key settings will dramatically improve your results. Recommended Camera Settings for Natural Light Product Photography Setting Recommended Value Why ISO 100 – 400 Keeps noise/grain to a minimum Aperture f/5.6 – f/11 Ensures the entire product is sharp and in focus Shutter Speed Use a tripod and let the camera choose (Aperture Priority mode) A tripod eliminates motion blur at slower shutter speeds White Balance Daylight or Auto Ensures accurate, consistent colors File Format RAW (if available) Maximum flexibility in post-processing Smartphone Tips Lock your exposure and focus by tapping and holding on the product on your screen. Turn off the flash. Always. Use the 2x optical zoom (if available) to reduce lens distortion. Shoot in your phone’s “Pro” or “Manual” mode if it has one, and keep ISO low. Step 7: Compose Your Shot Good composition makes your product look intentional and professional.
How to Shoot Product Photography at Home with Natural Light: A Step-by-Step Guide Read More »