Before and After Photo Retouching in Photoshop: A Real Portrait, Layer by Layer
Most before and after photo retouching Photoshop tutorials show you the dramatic slider reveal and a list of tools. That’s not what this post is. Here, we’re opening the actual PSD of a recent wedding portrait we retouched at Digital Wedding Pro and walking through every single layer, explaining why we made each decision, not just which button we clicked.
If you’ve ever wondered what separates a snapshot edit from a polished, magazine-grade portrait, this breakdown will demystify it.
The Starting Point: What the Raw File Looked Like
Our subject is a bride photographed indoors near a large window. The raw file (.CR3 from a Canon R5) had these issues we noted before opening Photoshop:
- Slight underexposure on the face (about -0.7 EV)
- Mixed light: warm tungsten bouncing from the right, cool daylight from the left
- Visible mascara smudge under the right eye
- Loose hair strands across the forehead
- Skin texture good, but uneven redness around the nose and chin
- Background had a distracting power outlet
Identifying these before opening Photoshop is the single most important step. Retouching without a plan is how you end up with plastic skin and crushed shadows.
Step 1: Camera Raw Pre-Pass (Before Photoshop Even Opens the Image)
We do roughly 60% of the work in Camera Raw. Photoshop is for the surgical stuff.
Decisions made in Camera Raw:
- Exposure +0.55 to lift the face without blowing the window highlights
- Highlights -40, Whites -15 to recover the veil detail
- Shadows +25 to open the dress folds
- White balance set to 4850K, tint +6 to neutralize the warm spill
- Texture +8, Clarity -5: a deliberate combo that keeps skin pores readable but softens midtone contrast on the face
- HSL: Orange luminance +12, Orange saturation -8 to even out skin tone
Why not push Clarity positive? Because positive Clarity on a portrait emphasizes every pore and ages the subject. We want detail, not aggression.
Step 2: Opening in Photoshop as a Smart Object
We open the image as a Smart Object, not a flat layer. This is non-negotiable. If a week later the client asks for a warmer skin tone, we double-click and re-tune Camera Raw without losing a single retouching layer. Julieanne Kost’s blog has short videos on Smart Object workflows in Photoshop if you have never set one up this way.
Step 3: The Layer Stack (What’s Actually in the PSD)
Here’s the final layer order, from bottom to top, with the purpose of each:
| Layer # | Layer Name | Type | Purpose |
|---|---|---|---|
| 1 | RAW Smart Object | Smart Object | Base file, editable Camera Raw |
| 2 | Spot Healing | Empty pixel layer | Blemishes, mascara smudge, stray hairs |
| 3 | Background Cleanup | Pixel layer | Removed power outlet via clone stamp |
| 4 | Frequency Sep – Low | Pixel layer (Gaussian) | Even out skin color/tone transitions |
| 5 | Frequency Sep – High | Pixel layer (Linear Light) | Texture preservation, occasional pore cleanup |
| 6 | Dodge & Burn | 50% Gray, Soft Light | Sculpt cheekbones, jawline, nose bridge |
| 7 | Eye Enhance | Curves + mask | Brighten iris, deepen catchlight |
| 8 | Teeth Whiten | Hue/Sat + mask | -15 yellow saturation, +6 lightness |
| 9 | Color Grade | Color Lookup / Curves | Soft film tone, lifted blacks |
| 10 | Global Contrast | Curves, Luminosity blend | Final S-curve for punch |
| 11 | Output Sharpen | High Pass, Overlay | Sharpening for web delivery |
Step 4: Spot Healing With Restraint
On layer 2 we used the Healing Brush (not Spot Healing, which guesses) with “Sample: Current & Below” turned on. The rule we follow:
- Remove temporary things: mascara smudges, stray hairs, a pimple, a piece of lint on the dress
- Keep permanent things: moles, freckles, scars, beauty marks
This single principle is what separates a flattering retouch from one that erases the person’s identity.
Step 5: Frequency Separation, Done Honestly
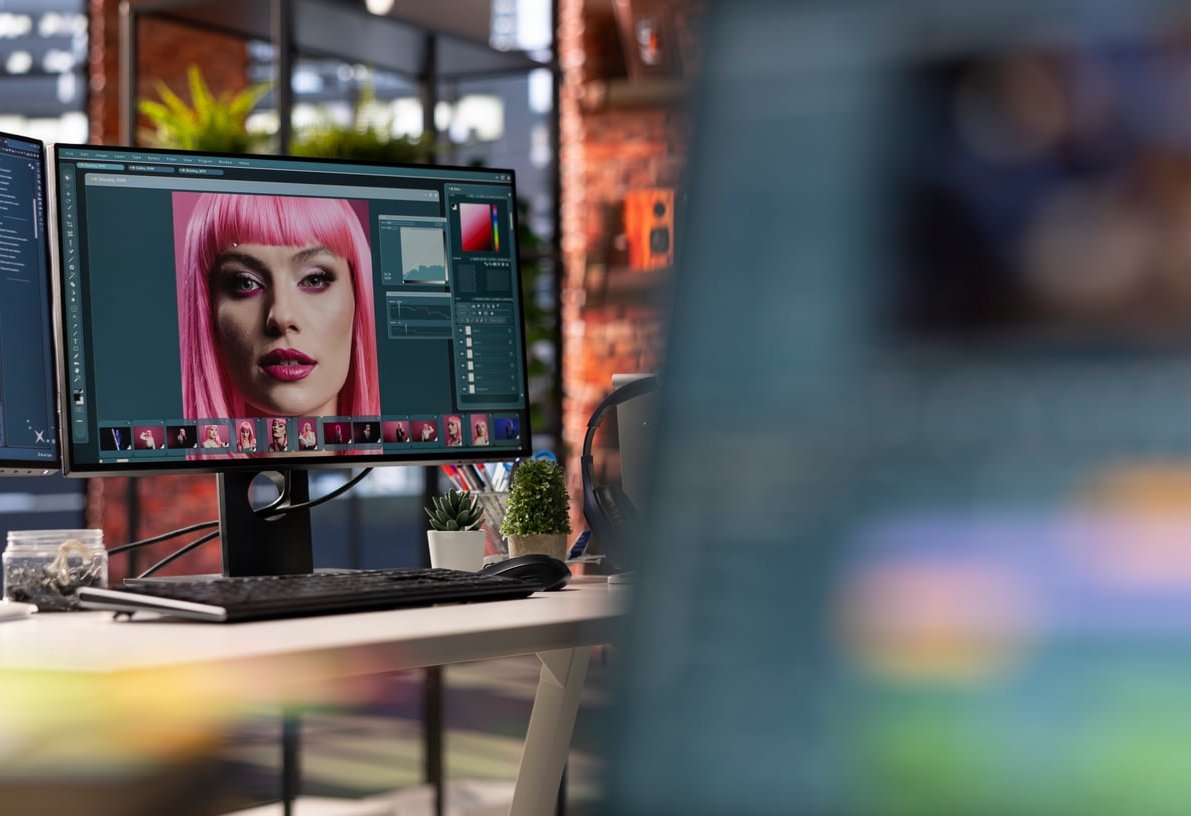
Frequency separation gets a bad reputation because beginners crank it. Here’s how we use it without producing wax-figure skin:
- Duplicate the layer twice. Name the bottom one Low, top one High.
- On Low, apply Gaussian Blur with a radius around 6 px (depends on resolution and face size).
- On High, go to Image > Apply Image, target the Low layer, subtract, scale 2, offset 128. Set blend mode to Linear Light.
- On the Low layer, use a soft brush at 15-20% opacity to even out splotchy color zones (the red around the nose, the slight blue under the eyes).
- Touch the High layer only for isolated texture problems, never for general smoothing.
Time spent on this layer: about 8 minutes. Anything over 20 minutes is usually a sign you’re overworking it.
Step 6: Dodge and Burn (The Layer That Makes the Biggest Visual Difference)
This is the layer most amateurs skip and most pros obsess over. We create a 50% gray layer set to Soft Light, then paint with a very low-opacity white brush (2-3%) to brighten and black brush to darken.
What we actually dodged and burned:
- Dodged: top of cheekbones, bridge of nose, cupid’s bow, inner corner of eyes, chin highlight
- Burned: sides of nose (subtle slimming), under cheekbones, jawline shadow, edges of the forehead
Total time: about 15 minutes. This is where craftsmanship lives. If you want to build that feel without risking a client’s gallery, a handful of licensed bridal portraits from depositphotos.com make good practice files for dodge and burn.
Step 7: Eyes and Teeth Without Overdoing It
The classic giveaway of a bad retouch is glowing white teeth and radioactive eyes. Our hard rules:
- Teeth: Hue/Saturation, target Yellows, saturation between -10 and -20, lightness +5 to +8. Never more.
- Eyes: Curves layer with a gentle lift, masked only onto the iris. Add a tiny Dodge on the catchlight, never on the whole white of the eye.
Step 8: Color Grading the Final Look
For this bridal portrait, we wanted a soft, slightly desaturated film look. The recipe:
- Curves: lifted the blacks by about 8 points to create a matte feel
- Color Balance: shadows +3 cyan, +4 blue; highlights +4 yellow, +2 red
- Solid Color layer with peach tone (#f4d8c4), blend mode Soft Light, opacity 8%
Step 9: Sharpening for the Final Output
We always sharpen last, and we sharpen for the destination. For web delivery at 2048 px wide, we use High Pass with a radius of 1.0 px, set to Overlay, at around 50-60% opacity, masked off the skin so we don’t accentuate pores.
Before and After: Side-by-Side Summary
| Aspect | Before | After |
|---|---|---|
| Exposure on face | -0.7 EV, flat | Balanced, sculpted with D&B |
| Skin tone | Red around nose/chin | Even, natural texture intact |
| Background | Distracting outlet | Clean |
| Eyes | Slightly dull | Sharp catchlight, natural iris |
| Overall mood | Snapshot | Editorial bridal portrait |
Total Time Spent on This Image
- Camera Raw pre-pass: 4 minutes
- Healing and cleanup: 6 minutes
- Frequency separation: 8 minutes
- Dodge and burn: 15 minutes
- Eyes, teeth, color grade: 7 minutes
- Output sharpening and export: 2 minutes
Total: about 42 minutes for a hero portrait. Album-grade images get the full treatment, the other 600 photos from a wedding day get a streamlined version of steps 1, 2, and 9 only.
Key Takeaways
- Plan before you retouch. Write down problems on the raw file first.
- Use Smart Objects. Always. Future you will be grateful.
- Remove temporary, keep permanent. This is the ethical line of retouching.
- Dodge and burn is where artistry lives, not frequency separation.
- Sharpen last, for the destination, never globally.
FAQ
How do I quickly see before and after in Photoshop?
Hold the Backslash key (\) on an active layer mask to toggle it, or click the eye icon of your top group while holding Alt/Option to isolate it. For the whole edit, toggle the visibility of your top group versus the base Smart Object.
What is the difference between photo editing and photo retouching?
Photo editing is global: exposure, color, cropping, contrast. Photo retouching is local and surgical: skin, blemishes, dodge and burn, object removal. Most professional workflows do both, in that order.
How can I retouch photos faster in Photoshop?
Build actions for repeated steps (frequency separation setup, 50% gray D&B layer, output sharpening). Use a Wacom tablet. And learn to recognize when an image is finished, overworking is the biggest time sink. Even an entry-level pen tablet gives you pressure control on the brush that a mouse simply cannot.
Do I need frequency separation for every portrait?
No. For clean skin in good light, healing brush plus dodge and burn is enough. Reserve frequency separation for difficult skin conditions or strong patches of uneven color.
How do I make a before and after image in Photoshop?
Place the original and the retouched version on two layers, use a vertical line guide, add a mask on the top layer and fill half with black. Add a thin white divider line for the classic split look.
Want Your Wedding Portraits Retouched Like This?
At Digital Wedding Pro, this is the exact workflow our retouchers follow on every hero image we deliver. If you’re a wedding photographer drowning in post-production, get in touch and let us handle the layers while you handle the shoots.