Exposure Triangle Photography: The Beginner’s Guide to Aperture, Shutter Speed, and ISO
If you have ever wondered why your indoor portraits look grainy, your street shots are blurry, or your wedding receptions turn out too dark, the answer almost always comes down to one thing: the exposure triangle. Understanding how aperture, shutter speed, and ISO work together is the single biggest leap you can make as a photographer.
In this guide, we will demystify the relationship between these three settings using simple visual analogies, then walk through real-world shooting scenarios so you can apply what you learn the next time you pick up your camera.

What Is the Exposure Triangle in Photography?
The exposure triangle refers to the three camera settings that work together to determine how bright or dark your final image will be:
- Aperture (how wide the lens opening is)
- Shutter Speed (how long the sensor is exposed to light)
- ISO (how sensitive your sensor is to light)
Change one, and you usually need to adjust at least one other to keep your exposure balanced. Think of it like a three-way seesaw: push down on one side, and the others have to compensate.
The Window Analogy
Here is the easiest way to visualize it:
- Aperture is the size of the window. A bigger window lets more light into the room.
- Shutter speed is how long you leave the blinds open. The longer they stay open, the more light gets in.
- ISO is how sensitive your eyes are. Adjusted eyes need less light to see clearly, but everything looks a bit “noisier.”
Aperture: Controlling Light and Depth
Aperture is measured in f-stops (f/1.4, f/2.8, f/5.6, f/8, etc.). The smaller the number, the wider the opening, and the more light enters the camera.
Aperture also controls depth of field, meaning how much of your image is in focus:
- Wide aperture (f/1.4 to f/2.8): Beautifully blurred backgrounds, perfect for portraits.
- Mid aperture (f/4 to f/8): Balanced sharpness, great for groups and events.
- Narrow aperture (f/11 to f/22): Everything sharp from front to back, ideal for landscapes.
Practical Example: Indoor Wedding Portrait
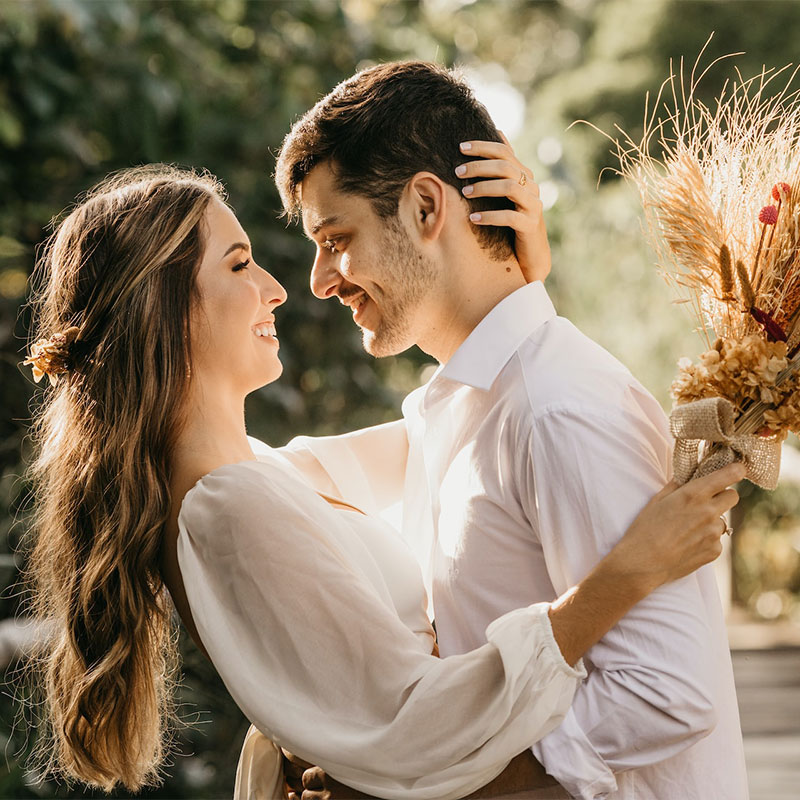
You are shooting a bride near a window. Set your aperture to f/2.0 to let in maximum light and create that creamy background blur that separates her from the room.
Shutter Speed: Freezing or Blurring Motion
Shutter speed is measured in seconds or fractions of a second (1/1000s, 1/250s, 1/30s, 1s). The faster the shutter, the less light hits the sensor, but the more motion you freeze.
| Shutter Speed | Best For |
|---|---|
| 1/2000s and faster | Fast action, sports, splashing champagne |
| 1/500s to 1/1000s | Kids running, pets, first dance |
| 1/125s to 1/250s | Standing portraits, walking subjects |
| 1/60s | Stationary subjects handheld |
| 1/30s or slower | Tripod work, light trails, creative blur |
Practical Example: Street Photography
You are walking through a busy market and want to freeze a passerby mid-stride. A shutter speed of 1/500s will lock that motion in place. If you want to capture intentional motion blur of a cyclist zipping past, drop to 1/30s and pan with them.
ISO: Boosting Sensitivity When Light Runs Out
ISO controls your sensor’s sensitivity to light. Lower ISO values produce cleaner images, while higher values introduce noise (grain).
- ISO 100 to 400: Bright daylight, studio work
- ISO 800 to 1600: Indoor venues, golden hour, overcast scenes
- ISO 3200 to 6400: Dim receptions, candlelit dinners, evening street scenes
- ISO 12800 and above: Very low light, last resort before adding flash
Good news: Modern mirrorless cameras released through 2025 and 2026 handle high ISO remarkably well. Do not be afraid to push it when needed. A slightly grainy sharp photo always beats a smooth blurry one.
How the Three Sides Work Together
This is where most beginners get stuck. Every adjustment affects the others. Here is a quick decision flow:
- Start with your creative priority. Do you need shallow depth of field? Frozen motion? Maximum sharpness?
- Lock that setting first. If shallow depth matters, set aperture. If motion matters, set shutter speed.
- Adjust the second variable to balance exposure.
- Use ISO as your last resort to brighten the image when aperture and shutter cannot stretch further.
Quick Reference Cheat Sheet
| Scenario | Aperture | Shutter Speed | ISO |
|---|---|---|---|
| Outdoor wedding ceremony | f/4 | 1/500s | 200 |
| Indoor portrait by window | f/2.0 | 1/200s | 400 |
| First dance reception | f/2.8 | 1/200s | 3200 |
| Street photography (day) | f/8 | 1/500s | 200 |
| Street photography (night) | f/2.8 | 1/125s | 6400 |
Common Exposure Triangle Mistakes to Avoid
- Leaving ISO on Auto without limits. Set a maximum so your camera does not crank it to noisy extremes.
- Using too slow a shutter handheld. A safe rule: shutter speed should be at least 1 divided by your focal length (1/100s for a 100mm lens).
- Going too wide on aperture for groups. At f/1.4 only one person’s face will be sharp.
- Forgetting to reset settings after switching from a dark venue to bright daylight.
Is the Exposure Triangle Still Relevant in 2026?
Absolutely. Despite all the AI-powered auto modes in modern cameras, the exposure triangle remains the foundation of every great photograph. Auto modes guess what you want. Understanding the triangle lets you decide.
Whether you shoot weddings, portraits, or street scenes, the photographers who consistently deliver stunning work are those who can adjust all three settings instinctively, in any lighting condition.
Frequently Asked Questions
Is f/2.8 or f/4 better?
Neither is universally better. f/2.8 lets in twice as much light and creates more background blur, ideal for low-light venues and portraits. f/4 gives more depth of field and is often lighter and cheaper, making it great for travel and landscapes.
What is the triangle rule in photography?
It states that aperture, shutter speed, and ISO are interconnected. Changing one requires balancing another to maintain proper exposure. They are the three pillars of every photograph’s brightness.
Do I need to shoot in manual mode to use the exposure triangle?
No. Even in aperture priority or shutter priority modes, you are still controlling parts of the triangle. Manual mode just gives you total control over all three at once.
How do I know if my exposure is correct?
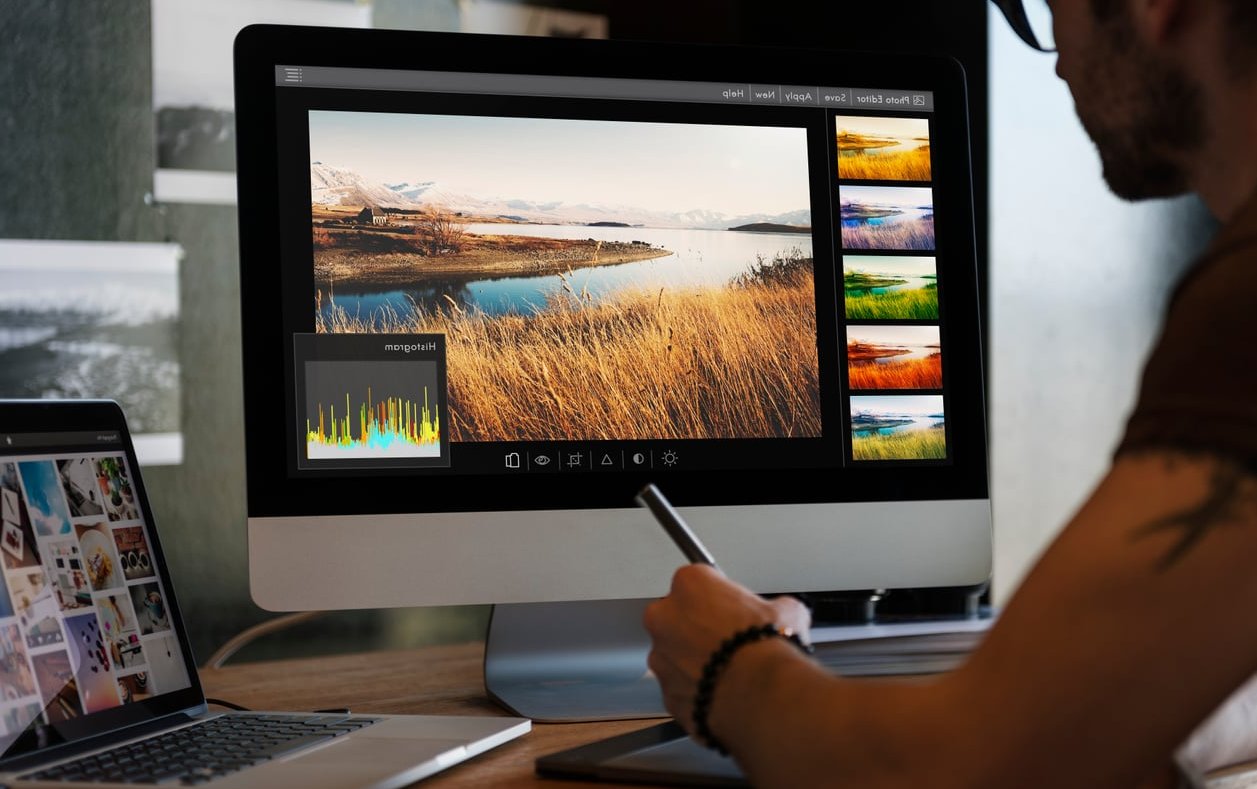
Check your camera’s histogram rather than trusting the LCD preview. A balanced histogram with no clipped highlights or shadows usually means a well-exposed image.
What is the easiest way to practice the exposure triangle?
Pick one subject and photograph it in manual mode with five different combinations of settings that all produce the same exposure. Compare the results to see how each adjustment changes the look.
Final Thoughts
The exposure triangle in photography is not a complicated formula. It is a simple framework that, once understood, gives you total creative control over your images. Start by mastering one setting at a time, practice in different lighting scenarios, and soon adjusting all three will feel as natural as breathing.
At Digital Wedding Pro, we believe that great wedding and portrait photography starts with confident technical fundamentals. Master the triangle, and the rest will follow.