Most articles about mood boards stop at “collect images you like.” That’s fine if you’re decorating a Pinterest profile, but it won’t help you sell a brand direction to a paying client. A real mood board for brand identity work is a strategic document, not a collage. It aligns the client, justifies your creative choices, and protects you from endless revision rounds later.
This guide walks through the exact workflow we use at Digital Wedding Pro when starting a brand identity project, the same process we teach designers who join our studio team in 2026.
What a Brand Identity Mood Board Actually Is (and What It Isn’t)
A brand identity mood board is a curated visual document that translates a client’s positioning, audience, and personality into a tangible aesthetic direction before any logo, typography, or color system is designed.
It is not:
- A Pinterest dump of pretty pictures
- A logo inspiration board (that’s a different tool)
- A collection of competitors’ work you’d like to copy
- Your personal taste imposed on the client
It is:
- A visual hypothesis grounded in the brand strategy
- A communication tool between you and the client
- A creative brief you’ll reference at every stage of the design
Step 1: Don’t Open Pinterest Yet. Start With the Brief.
The single biggest mistake junior designers make is opening Pinterest before opening the brief. Visuals without strategy lead to mood boards that look great but don’t fit the client.
Before collecting a single image, write down answers to these questions:
- Who is the brand for? Be specific. “Women aged 28-40 planning a destination wedding in Tuscany” is useful. “Brides” is not.
- What does the brand stand for? Three to five core values, written as adjectives.
- How should the audience feel when they encounter the brand?
- What is the brand NOT? This is critical. Knowing what to avoid sharpens the direction faster than knowing what to include.
- Where will the brand live? Print, digital, packaging, social? This affects which visuals matter.
Only once these answers are written should you start gathering references.
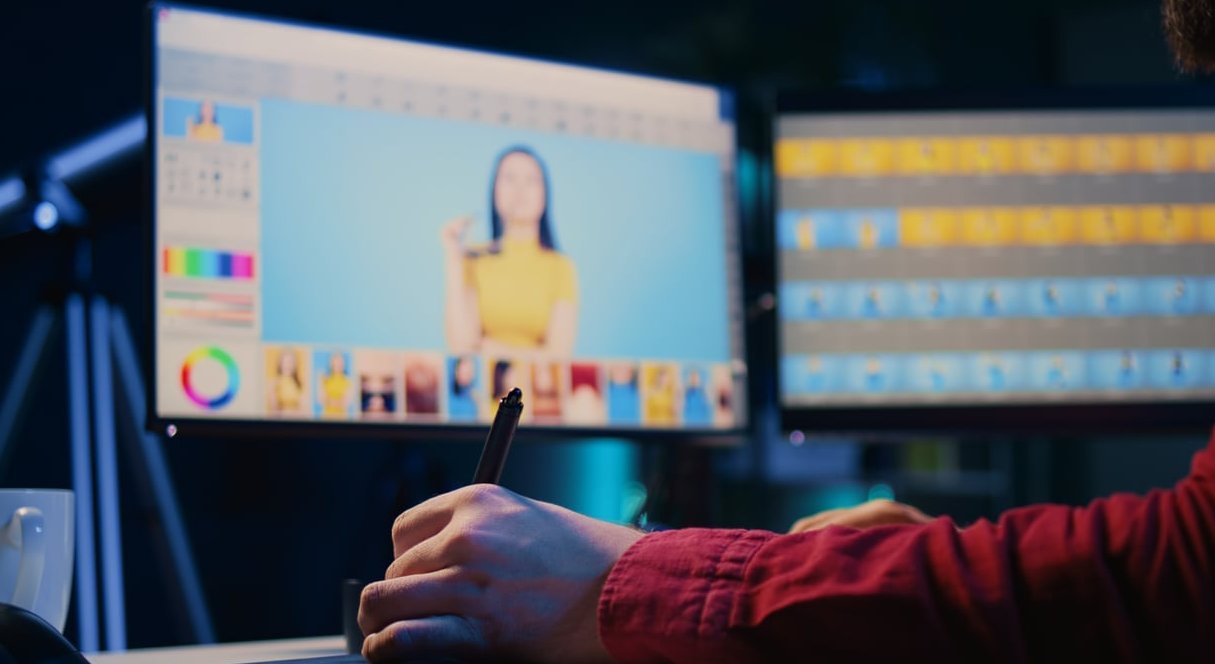
Step 2: Gather References Like a Researcher, Not a Collector
Reference gathering is the longest phase. Give it real time, usually 2 to 4 hours of focused work.
Where to look (beyond Pinterest)
| Source | What to look for |
|---|---|
| Behance / Dribbble | Editorial layouts, typography systems, color treatments |
| Are.na | Curated visual research with context |
| Editorial / fashion magazines | Photography style, mood, lifestyle cues |
| Architecture & interior sites | Texture, material, atmosphere |
| Real-world photos | Authentic textures, packaging, signage |
| Film stills | Color grading, cinematic mood |
Avoid showing other logos
This is a debated topic in the design community, but our position is firm: if you put a logo from Behance or Dribbble in the mood board, the client will fixate on it. Suddenly your mood board becomes a logo voting session. Keep logos out at this stage.
Collect 50 to 80 references, then cut ruthlessly
You’ll only use 12 to 20 in the final board. Over-collecting is part of the process because contrast helps you see what truly fits.
Step 3: Cluster Into Visual Themes
Once you have a wide pool, group references by theme. Don’t force three options just because clients expect three. Sometimes two strong directions are better than three weak ones.
Each cluster should answer:
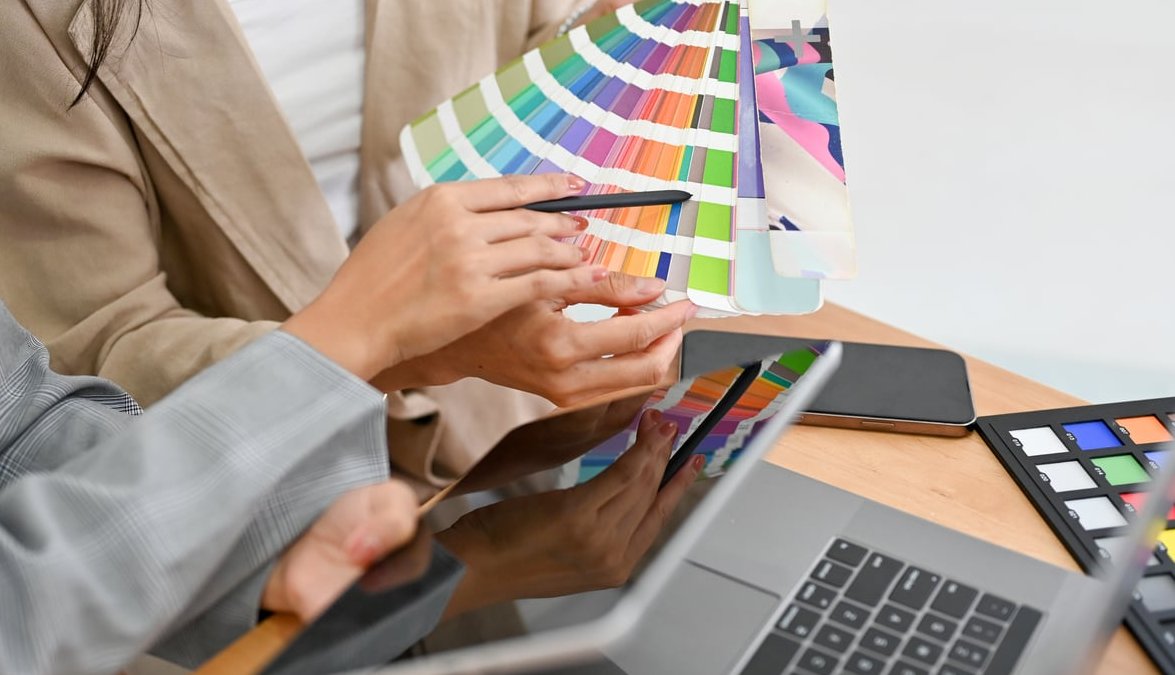
- What is the dominant color story?
- What is the typographic feeling (editorial, modern, organic, structured)?
- What is the texture and materiality (matte, glossy, paper, foil, raw)?
- What is the photographic style (warm, cool, candid, posed)?
- What emotion does it produce in 3 seconds?
If a reference doesn’t reinforce a clear emotion, remove it. Each image must earn its spot.
Step 4: Structure the Board With Visual Hierarchy
A mood board isn’t a grid of equal squares. Hierarchy guides the eye and tells a story.
- Hero image: one large image that captures the overall mood instantly.
- Supporting visuals: 4 to 6 medium images that develop the theme.
- Detail accents: small images for texture, color swatches, typographic samples.
- Color palette strip: extracted directly from the imagery, not invented separately.
- 3 to 5 keywords: anchor adjectives the client can repeat back to you.
Tools we recommend in 2026: Figma (best for collaboration and live presentation), Milanote (best for the gathering phase), and InDesign if you want a polished PDF deliverable.
Step 5: Present the Mood Board to the Client (This Is Where Most Designers Fail)
A mood board sent by email without context is a mood board that will be misunderstood. Always present it live, even on a 20-minute call.
The presentation script that works
- Recap the strategy in 60 seconds. Remind the client of the audience, values, and emotion before showing visuals.
- Walk through each direction by explaining the intention, not the images. Say “this direction expresses quiet luxury through muted earth tones and serif typography” rather than “I picked these because I thought they were nice.”
- Frame the feedback. Ask the client which direction feels right, not which one they like. Liking is personal taste; feeling right is alignment with the brand.
- Get written approval before moving to logo design. A simple email confirmation is enough.
Questions to ask the client during the review
- Which direction feels closest to how you want your customers to feel?
- Is there anything that feels off-brand or uncomfortable?
- Are there elements from one direction you’d like to combine with another?
- Does anything here remind you of a competitor (positively or negatively)?
Common Mistakes to Avoid
| Mistake | Why it hurts the project |
|---|---|
| Including competitor logos | Client copies competitors instead of differentiating |
| Mixing too many styles | Direction becomes muddy, no clear emotion |
| No color palette extracted | Client can’t visualize how this turns into a brand |
| Sending without presenting | Client interprets visuals through personal taste only |
| Skipping written approval | Endless revisions later in the process |
Mood Board Workflow Summary
- Read and clarify the brief
- Define audience, values, and emotion in writing
- Gather 50 to 80 references from diverse sources
- Cluster into 2 or 3 distinct directions
- Build each board with hierarchy, color, and keywords
- Present live, frame feedback, get written sign-off
- Use the approved board as your North Star for the rest of the identity work
FAQ
How many mood boards should I show a client?
Two or three directions is the sweet spot. One feels like you didn’t explore enough. Four or more dilutes decision-making and invites Frankenstein feedback.
Should I include the logo in the mood board?
No. The mood board comes before logo design. Including logos shifts the conversation away from mood and into shape preferences.
How long does it take to build a brand identity mood board?
For an experienced designer, 4 to 8 hours per direction including research, curation, and layout. Faster than that usually means shortcuts on research.
Can I use AI image generators for mood board references in 2026?
You can, but use them carefully. AI-generated visuals can fill gaps when you can’t find the exact texture or atmosphere you need, but they should never replace authentic references rooted in real culture, materials, or photography. Clients can tell the difference.
What’s the difference between a mood board and a style tile?
A mood board explores emotion and direction before design. A style tile shows actual brand elements (logo, type, color) in their applied form. You build the mood board first, then the style tile.
Do I need client approval on the mood board before designing the logo?
Yes, always. Without written approval, you’re designing on assumptions. The mood board is the contract that says “we agreed this is the visual direction.”