Most articles about headshot lighting are written by people shooting in a 1,200 square foot rental studio with 12 foot ceilings. That is not your spare bedroom. If you are trying to build a home studio headshot setup in a room that also contains a bed, a bookshelf and a radiator, the standard three-light diagram is close to useless.
This guide is the opposite of that. It covers the actual measurements you need, where to put the background when the wall is 3 feet behind your subject’s head, how to shoot professional headshots with one or two lights, and how to stop light from bouncing off four nearby white walls and flattening everything you shoot.
The Minimum Space You Actually Need
A headshot is a tight crop. That is good news, because you need far less room than for a full-length portrait. The constraint is not the subject, it is the three distances stacked between your background and your camera.
- Background to subject: 3 to 4 feet minimum (keeps shadows off the backdrop and lets the background go softly out of focus)
- Subject to camera: 5 to 9 feet depending on your lens
- Camera to back wall: 1.5 to 2 feet so you can actually stand behind the tripod
Add those up and you get a realistic working length. Here is what different rooms allow:
| Room size | Verdict | What you can shoot |
| 7 x 9 ft | Tight but possible | One light, 50mm lens, head and shoulders only, shoot on the diagonal |
| 8 x 10 ft | The practical minimum | One or two lights, 50mm to 85mm, clean corporate headshots |
| 10 x 12 ft | Comfortable | Two lights, 85mm, background separation, gradient backdrops |
| 12 x 15 ft or more | A real studio | Three lights, 3/4 length, seamless paper on a proper stand |
The diagonal trick nobody mentions
A 10 x 12 ft room gives you 12 feet of usable length if you shoot wall to wall. Shoot corner to corner and the same room gives you 15.6 feet. Put the background across one corner at a 45 degree angle and set your camera in the opposite corner. You just gained 3 feet for free, which is often the difference between a 50mm and an 85mm lens.
Ceiling height matters more than floor space
A standard 8 foot ceiling is workable but limiting. Your key light modifier wants to sit with its center roughly 12 to 18 inches above your subject’s eye level, angled down. With a 45 inch octabox on a stand, the top of the modifier can hit the ceiling. Two fixes: tilt the light steeply downward so the modifier occupies vertical space rather than horizontal, or seat your subject on a stool. Seating the subject solves half the problems in a small room, because it lowers everything by about 16 inches and locks their position so you are not chasing focus.
Background: Placement Beats Budget
People spend money on backdrops when the real variable is distance. A cheap gray backdrop 4 feet behind the subject looks better than an expensive one taped to the wall behind their head.
How much background do you need?
For headshots only, you need a surface roughly 4 to 5 feet wide and 5 feet tall. That is it. You do not need a 9 foot seamless roll, which will not fit through most bedroom doors anyway. Practical options for a small room:
- 53 inch seamless paper roll: the sweet spot for home studios. Wide enough for head and shoulders, narrow enough to store behind a door.
- 5 x 7 ft collapsible reversible backdrop: pops up, folds down, usually gray on one side and white or blue on the other. Best choice if the room has another purpose.
- Painted wall: one wall painted mid-gray (roughly 18 percent gray, or any neutral “storm”/”dovetail” shade) is the cheapest permanent backdrop that exists. It never wrinkles.
- Wrinkle-resistant polyester or a canvas-style backdrop: cheap, but budget 10 minutes with a steamer before every session.
Placement rules
- Pull the subject at least 3 feet off the background. Less than that and your key light throws a hard shadow of their head onto the backdrop.
- If you want a clean, even background, you need a background light or 5+ feet of separation. If you want a natural falloff gradient (darker in the corners), 3 to 4 feet with a single feathered key does it automatically and looks expensive.
- Keep the bottom of the backdrop off the floor line in frame. For headshots, crop above it and you never have to fight the seam.
- Never let the backdrop touch the subject’s shoulders. It reads as amateur instantly.
The Two-Light Home Studio Headshot Setup
Two lights is the standard for corporate and LinkedIn work because it gives you consistency and a controlled background. Here is the configuration that fits an 8 x 10 ft room.
Light 1: the key
- Modifier: 32 to 45 inch octabox or a medium shoot-through umbrella with a diffusion front
- Position: 30 to 45 degrees off the camera axis, 2.5 to 4 feet from the subject’s face
- Height: center of the modifier about 12 inches above eye level, tilted down toward the chin
- Key detail: feather it. Aim the center of the light past the subject’s face rather than straight at it, so they are lit by the edge of the beam. This drops the amount of light hitting the walls behind and beside them.
Light 2: pick one job
In a small room, your second light should do exactly one of these:
- Background light: a bare speedlight or small strobe on a floor stand, 2 to 3 feet behind the subject, aimed at the backdrop. Gels optional. This separates the subject and lets you turn a gray backdrop into anything from near-white to deep charcoal by adjusting power alone.
- Fill light: opposite the key, 2 to 3 stops below it, in a large soft modifier. Softens shadows for older subjects or corporate clients who want a flat, friendly look.
- Hair/rim light: gridded, behind and above the subject on the shadow side. Only use this if you have ceiling height. In a low room it will either blow out the top of the head or spill into your lens.
The most common mistake: using the second light as fill when a $10 piece of white foam board would do the same job and take up no floor space. In a small room, a reflector nearly always beats a second light for fill because it cannot spill.
Two-light quick reference
| Element | Setting |
| Key power | Whatever gives f/4 to f/5.6 at ISO 100 |
| Fill ratio | 2:1 to 3:1 (key 1 to 1.5 stops brighter) |
| Background light | Equal to key for bright gray, 2 stops under for dark gray |
| Shutter | 1/160 to 1/200s to kill ambient room light |

The One-Light Setup (When the Room Is Really Tight)
If your room is under 8 feet wide, stop trying to fit two stands in it. One light plus one reflector produces headshots that clients pay for, and it is faster to set up and tear down.
Option A: 45 degree key with reflector fill
- Subject on a stool, 3.5 feet off the background.
- Key light at 45 degrees camera left, modifier edge about 3 feet from the face, tilted down and feathered toward the far cheek.
- White foam board (or a 5-in-1 reflector) camera right, as close to the subject as you can get it without entering frame, angled up at the shadow side of the face.
- Camera dead center, lens at the subject’s eye level.
This is the workhorse. It creates a defined but soft shadow, one clean catchlight, and it flatters almost everyone.
Option B: clamshell for tight rooms
Put the light directly in front of the subject, slightly above, tilted down about 30 degrees. Put a reflector directly below their chin, angled up. The light and reflector form a “clamshell” around the face. It is nearly shadowless, extremely flattering, and it uses almost no lateral floor space, which is exactly what a narrow room needs. The downside is that it can look flat, so add a touch of contrast in post or pull the reflector back a few inches. Related reading: Simple Corporate Headshot Lighting Setups.
Option C: window light plus a bounce
Do not dismiss this. A north-facing window with a sheer curtain is a 6 foot softbox you already own. Place the subject 3 to 4 feet from the window at a 45 degree angle, reflector on the shadow side, background behind them. The catch is consistency: light changes over the session and by season. Fine for personal branding shoots, risky for a corporate job with 20 people booked over five hours.
Controlling Spill in Tight Quarters
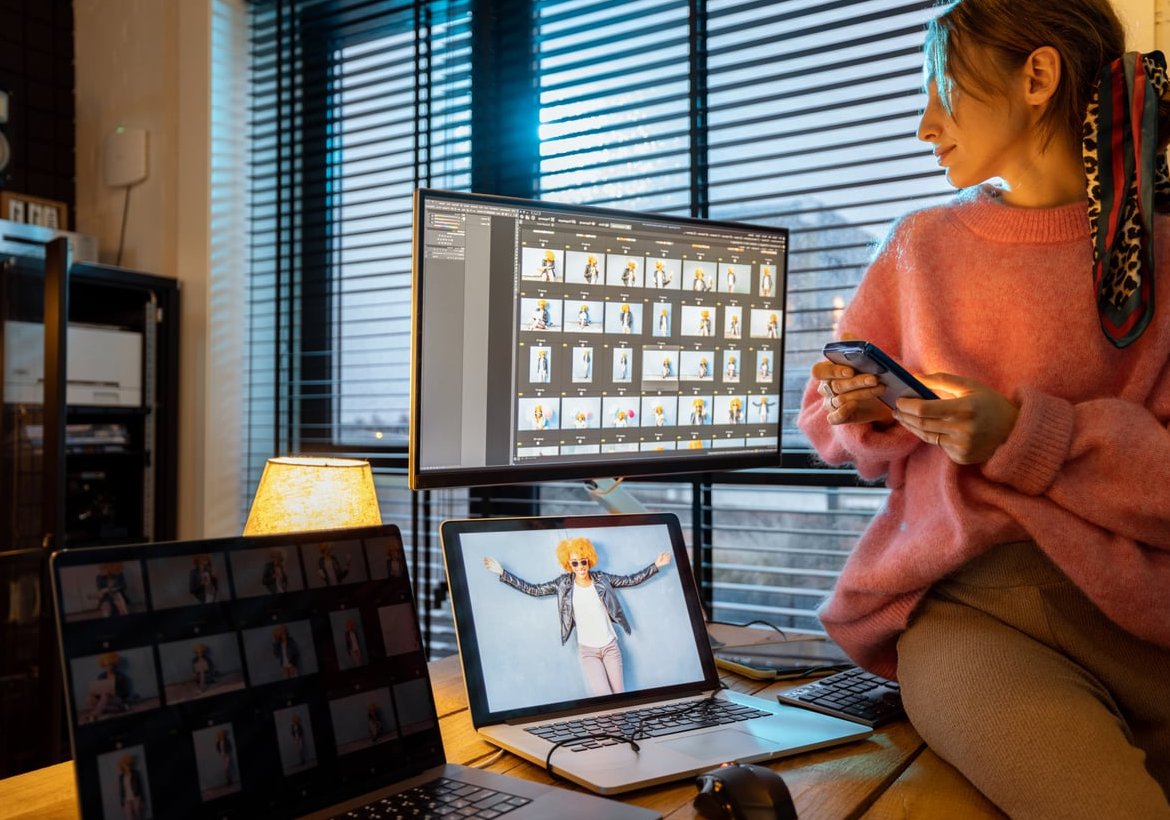
This is the single biggest difference between a home studio and a rental studio, and it is where most DIY headshots fall apart. In a big room, stray light travels far and dies. In a 9 foot room with white walls and a white ceiling, every photon comes right back at your subject from every direction. The result is flat, gray, contrast-free images with no shape. A good illustration of it comes from another team working this way.
What actually works
- Negative fill on the shadow side. Put something black between the subject and the nearest wall. Two 40 x 60 inch black foam boards taped together into a V, or a black bedsheet clipped to a stand, or a moving blanket. This is the cheapest quality upgrade available and costs under $30.
- Black on the ceiling if the ceiling is low. A dark cloth clipped between two stands above the subject stops overhead bounce, which is what causes those flat, dull-eyed headshots.
- Grids. A fabric grid on your softbox narrows the beam by roughly 40 degrees and stops most of the wall bounce. If you buy one accessory for a small room, buy this.
- Feather everything. Aiming the light past the subject instead of at them reduces spill dramatically while making the light softer on the face.
- Move the light closer, drop the power. Inverse square law is your friend. A light 3 feet away at low power lights the face brightly and the wall 8 feet away barely at all. A light 8 feet away at high power lights everything equally.
- Kill the ambient. Shutter at 1/160 to 1/200s, ISO 100, aperture f/4 to f/5.6. Turn off the room lights and close the blinds. Now the only light in the photo is the light you put there.
Cheap workarounds that punch above their price
| Problem | Studio solution | Home workaround |
| Wall bounce | V-flats | Black foam board from a craft store, gaffer taped into a hinge |
| Fill light | Second strobe | White foam board on a cheap clamp stand |
| Background | 9 ft seamless + support | Wall painted mid-gray, or a 53 inch roll on two light stands |
| Subject positioning | Posing box | Gaffer tape X on the floor and a stool with no back |
| Ceiling bounce | Black ceiling | Black bedsheet clipped between two stands |
| No room for a boom | C-stand | Wall-mounted or clamp-mounted light on a shelf bracket |

Lens and Camera Settings for a Small Room
The classic advice is 85mm or longer. That is correct optically and often impossible in a bedroom. Here is the realistic range:
- 85mm full frame: needs roughly 7 to 9 feet from subject to sensor for a head and shoulders crop. Ideal if you have it.
- 50mm full frame: needs about 5 feet. Slight facial distortion is present but manageable if you do not crop too tight and keep the camera at eye level.
- APS-C shooters: a 50mm gives you an 75-80mm equivalent field of view at a 5 foot distance. This is arguably the best small-room headshot lens that exists.
- Avoid anything wider than 35mm equivalent for faces. Noses grow.
Settings starting point: ISO 100, f/5.6, 1/160s, manual white balance set to your light’s rating (usually 5500K for strobes). f/5.6 gives you enough depth of field to keep both eyes sharp when the subject shifts, which they will.
Your 30-Minute Build Checklist
- Clear a 8 x 10 ft footprint, or the diagonal of whatever you have.
- Set the background across the corner. Mark the stand feet with tape so you can rebuild it in 5 minutes next time.
- Place a stool 3.5 to 4 feet in front of it. Tape an X on the floor.
- Position the key light at 45 degrees, 3 feet from the X, modifier center 12 inches above seated eye level, tilted down and feathered.
- Place white foam board on the opposite side, as close as possible without entering frame.
- Place black foam board or a black sheet on the nearest wall to the shadow side.
- Set camera on a tripod at seated eye level, 5 to 8 feet back depending on lens.
- Kill the room lights, set 1/160s, f/5.6, ISO 100, dial the flash power to expose correctly.
- Test on yourself. Check the catchlight position and whether the shadow on the background is visible. Adjust distance, not power, to fix shadows.
Common Mistakes in Small-Room Headshot Setups
- Backing the subject against the wall. Every problem in home headshots starts here.
- Buying a huge modifier. A 60 inch octabox in a 9 foot room is unusable. Between 32 and 45 inches is right.
- Ignoring the ceiling. White ceilings at 8 feet are a giant uncontrolled fill light.
- Leaving room lights on. Mixed color temperature will destroy your skin tones.
- Shooting standing subjects. Seated subjects are more consistent, more relaxed, and easier to light in a low-ceiling space.
- No floor marks. If you cannot rebuild the setup exactly, you cannot deliver consistent headshots to a team of 15 people.
FAQ
What is the minimum room size for a home headshot studio?
Around 8 x 10 feet with an 8 foot ceiling. Below that, use the room’s diagonal, seat your subject, shoot with a 50mm lens and use one light with a reflector instead of two lights.
How to create a good headshot at home?
Put the subject 3 to 4 feet off a plain mid-gray background, use one soft light at 45 degrees slightly above eye level, add a white reflector on the shadow side, use a black board to block wall bounce, shoot at eye level with a 50mm to 85mm equivalent lens at f/5.6, and turn off all other lights in the room.
What is the 3 lighting rule?
Three-point lighting uses a key light for the main exposure and shape, a fill light to control shadow depth, and a back or rim light to separate the subject from the background. In a small room you usually collapse this to key plus reflector, with an optional background light in place of the rim.
What is the 20 60 20 rule in photography?
It is a compositional guideline for dividing a frame into unequal parts, roughly 20 percent, 60 percent and 20 percent, to avoid dead-center symmetry. For headshots it is more useful as a cropping habit: leave a small amount of headroom, place the eyes on the upper third, and leave slightly more space on the side the subject is facing.
What colors should I avoid for headshots?
Avoid bright white and pure black tops, which either blow out or block up. Avoid busy patterns, thin stripes and small checks, which can create moiré. Avoid colors that match the background or the subject’s skin tone. Solid mid-tone jewel colors, navy, charcoal and muted earth tones photograph best. A comparable breakdown sits on digital-photography-school.com.
Is two lights better than one for headshots?
Not automatically. Two lights give you control over the background, which matters for corporate work where you deliver both light gray and dark gray versions. One light plus a reflector produces more shape and depth and is easier to manage in a tight space. Master the one-light setup first.
Can I use continuous LED lights instead of strobes?
Yes, and in a small home studio it is often the better choice. You see exactly what you get, there is no trigger to fail, and a 100 to 200W COB LED with a softbox is plenty at 3 feet. The tradeoff is that continuous light is dimmer than flash, so you will shoot at higher ISO or wider apertures, and bright LEDs make subjects squint.
How do I get a pure white background in a small room?
You need to light the background separately to about 1.5 to 2 stops brighter than your subject exposure, using two lights aimed at it from either side, or one light through a bounce. In a room where the subject is only 3 feet off the wall, the spill will wrap around and reduce contrast on your subject. It is usually cleaner to shoot on light gray and lift the background in post. nlalorphotography.com has covered this at length.
The Takeaway
A working home studio headshot setup is not about gear volume. It is about three distances, one well-placed light, and aggressively controlling what your walls and ceiling are doing behind your back. Build it once, tape the floor, photograph the setup with your phone so you can rebuild it in five minutes, and you have a repeatable product you can sell to local businesses, actors and job seekers without ever renting a studio.